 tokki
tokki반응형
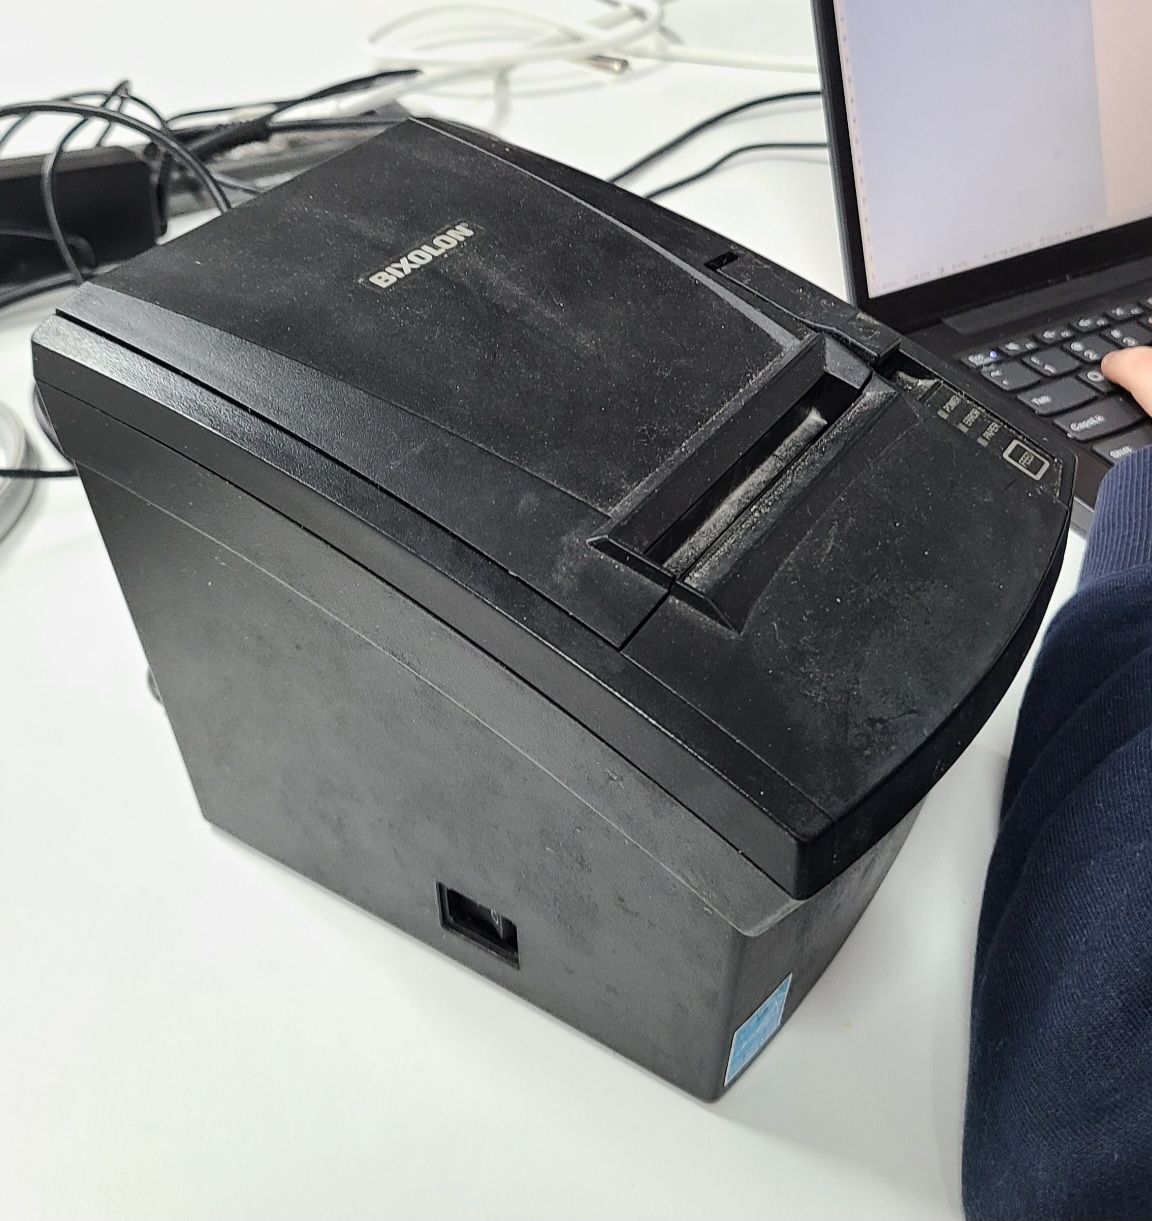
당근에서 구한 오늘의 장난감입니다. 영수증 프린터예요. 일단 기본적으로 프린터라서, PC에 연결해서 프린트가 됩니다.
친구들한테 텍스트로 덕담하기 완전 가능.
아무튼.. 그냥 프린트만 하면 재미없으니까 뭔가 해보기 위해 파이썬을 켭니다. PySide6, PIL, OpenCV를 활용해서 웹캠으로 사진을 찍은 후, 영수증으로 뽑아볼 거예요.
import sys
import cv2
import numpy as np
import time

from default_frame import image_frame
from print_file import print_file

from PySide6.QtWidgets import QApplication, QWidget, QLabel, QPushButton, QVBoxLayout
from PySide6.QtCore import QSize, Qt
from PySide6.QtGui import QImage, QPixmap, QIcon
from PySide6.QtCore import QTimer


class MainApp(QWidget):
    def __init__(self):
        QWidget.__init__(self)
        self.capture = cv2.VideoCapture(0)
        self.setStyleSheet("background-color: black;")
        self.video_size = QSize(640, 480)
        self.setup_ui()
        self.setup_camera()

    def print_photo(self):
        photo = self.capture.read()[1]

        alpha = 1.5
        beta = 0
        photo = cv2.convertScaleAbs(photo, alpha=alpha, beta=beta)

        modify = np.ones(photo.shape, dtype="uint8") * 120
        photo = cv2.subtract(photo, modify)

        cv2.imwrite("photo.png", photo)
        image_frame("photo.png")
        print_file("print_photo.png")
        time.sleep(0.3)

    def setup_ui(self):
        self.image_label = QLabel()
        self.image_label.setFixedSize(self.video_size)

        self.photo_button_layout = QVBoxLayout()
        self.photo_button_layout.setContentsMargins(0, 20, 0, 20)
        self.photo_button_layout.setAlignment(Qt.AlignmentFlag.AlignCenter)

        self.photo_button = QPushButton()
        self.photo_button.setIcon(QIcon("camera.png"))
        self.photo_button.setIconSize(QSize(50, 50))
        self.photo_button.setFixedSize(100, 100)
        self.photo_button.setStyleSheet(
            "background-color: white; border: 0px solid; border-radius: 50px;"
        )
        self.photo_button.clicked.connect(self.print_photo)

        self.main_layout = QVBoxLayout()
        self.main_layout.setContentsMargins(0, 0, 0, 0)
        self.main_layout.setAlignment(Qt.AlignmentFlag.AlignCenter)
        self.main_layout.addWidget(self.image_label)

        self.main_layout.addLayout(self.photo_button_layout)
        self.photo_button_layout.addWidget(self.photo_button)

        self.setLayout(self.main_layout)

    def setup_camera(self):
        self.capture = cv2.VideoCapture(0)
        self.capture.set(cv2.CAP_PROP_FRAME_WIDTH, self.video_size.width())
        self.capture.set(cv2.CAP_PROP_FRAME_HEIGHT, self.video_size.height())

        self.timer = QTimer()
        self.timer.timeout.connect(self.display_video_stream)
        self.timer.start(30)

    def display_video_stream(self):
        _, frame = self.capture.read()
        frame = cv2.cvtColor(frame, cv2.COLOR_BGR2RGB)
        frame = cv2.flip(frame, 1)
        image = QImage(
            frame,
            frame.shape[1],
            frame.shape[0],
            frame.strides[0],
            QImage.Format_RGB888,
        )
        self.image_label.setPixmap(QPixmap.fromImage(image))


if __name__ == "__main__":
    app = QApplication(sys.argv)
    win = MainApp()
    win.show()
    sys.exit(app.exec())
메인 코드입니다. 뭔가 많아보이지만 거의 UI를 작성하기 위한 코드..
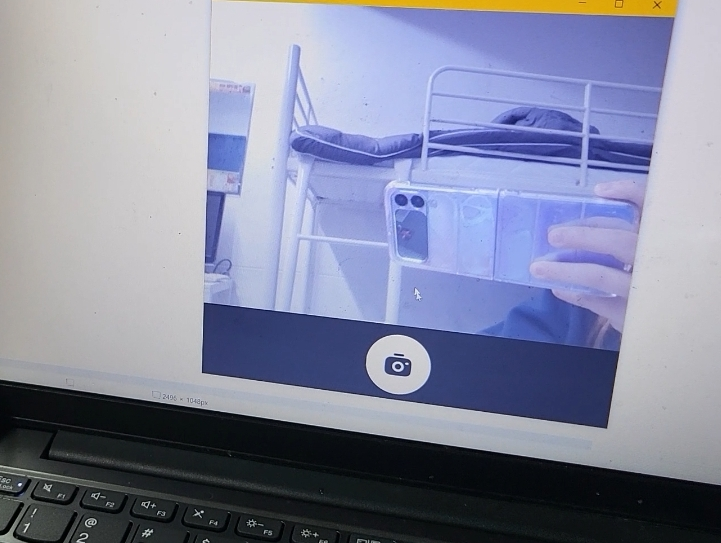
이렇게 웹캠 화면을 띄우고, 카메라 버튼을 클릭하면 현재 장면을 image_frame으로 변환해 저장하고 print_file 함수로 프린트합니다.
from PIL import Image, ImageDraw, ImageOps, ImageFont
import random
def random_text():
list = [
"행복한 하루가 될 예정이에요!",
"좋은 일이 생길 거예요!",
"오늘은 행운의 날이에요!",
"재미있는 하루가 될 거예요!",
"배우는 게 많은 하루가 될 거예요!",
"공부가 잘 되는 날이에요!",
"맛있는 걸 먹을 수 있는 날이에요!",
"지식이 머리에 쏙쏙 들어오는 날이에요!",
"친구들과 재미있는 시간을 보낼 거예요!",
"하루 종일 웃을 수 있는 날이에요!",
"지치지 않고 에너지가 넘치는 날이에요!",
"인기쟁이가 되는 날이에요!",
"즐거운 일이 생길 거예요!",
"성취감을 느낄 수 있는 날이에요!",
"좋은 소식이 들려오는 날이에요!",
]
return list[random.randint(0, len(list) - 1)]
def image_frame(file):
img = Image.open(file)
img = ImageOps.expand(img, border=(0, 0, 0, 200 * scale), fill="white")
I1 = ImageDraw.Draw(img)
title = ImageFont.truetype("Binggrae.ttf", 24)
content = ImageFont.truetype("Binggrae.ttf", 30)
sub = ImageFont.truetype("Binggrae.ttf", 18)
I1.text(
(img.width / 2, img.height - 160),
"♥ 오늘의 운세 ♥",
fill=(0, 0, 0),
font=title,
anchor="mm",
)
I1.text(
(img.width / 2, img.height - 105),
random_text(),
fill=(0, 0, 0),
font=content,
anchor="mm",
)
img.save(file)
img = img.convert("L")
# img.show()
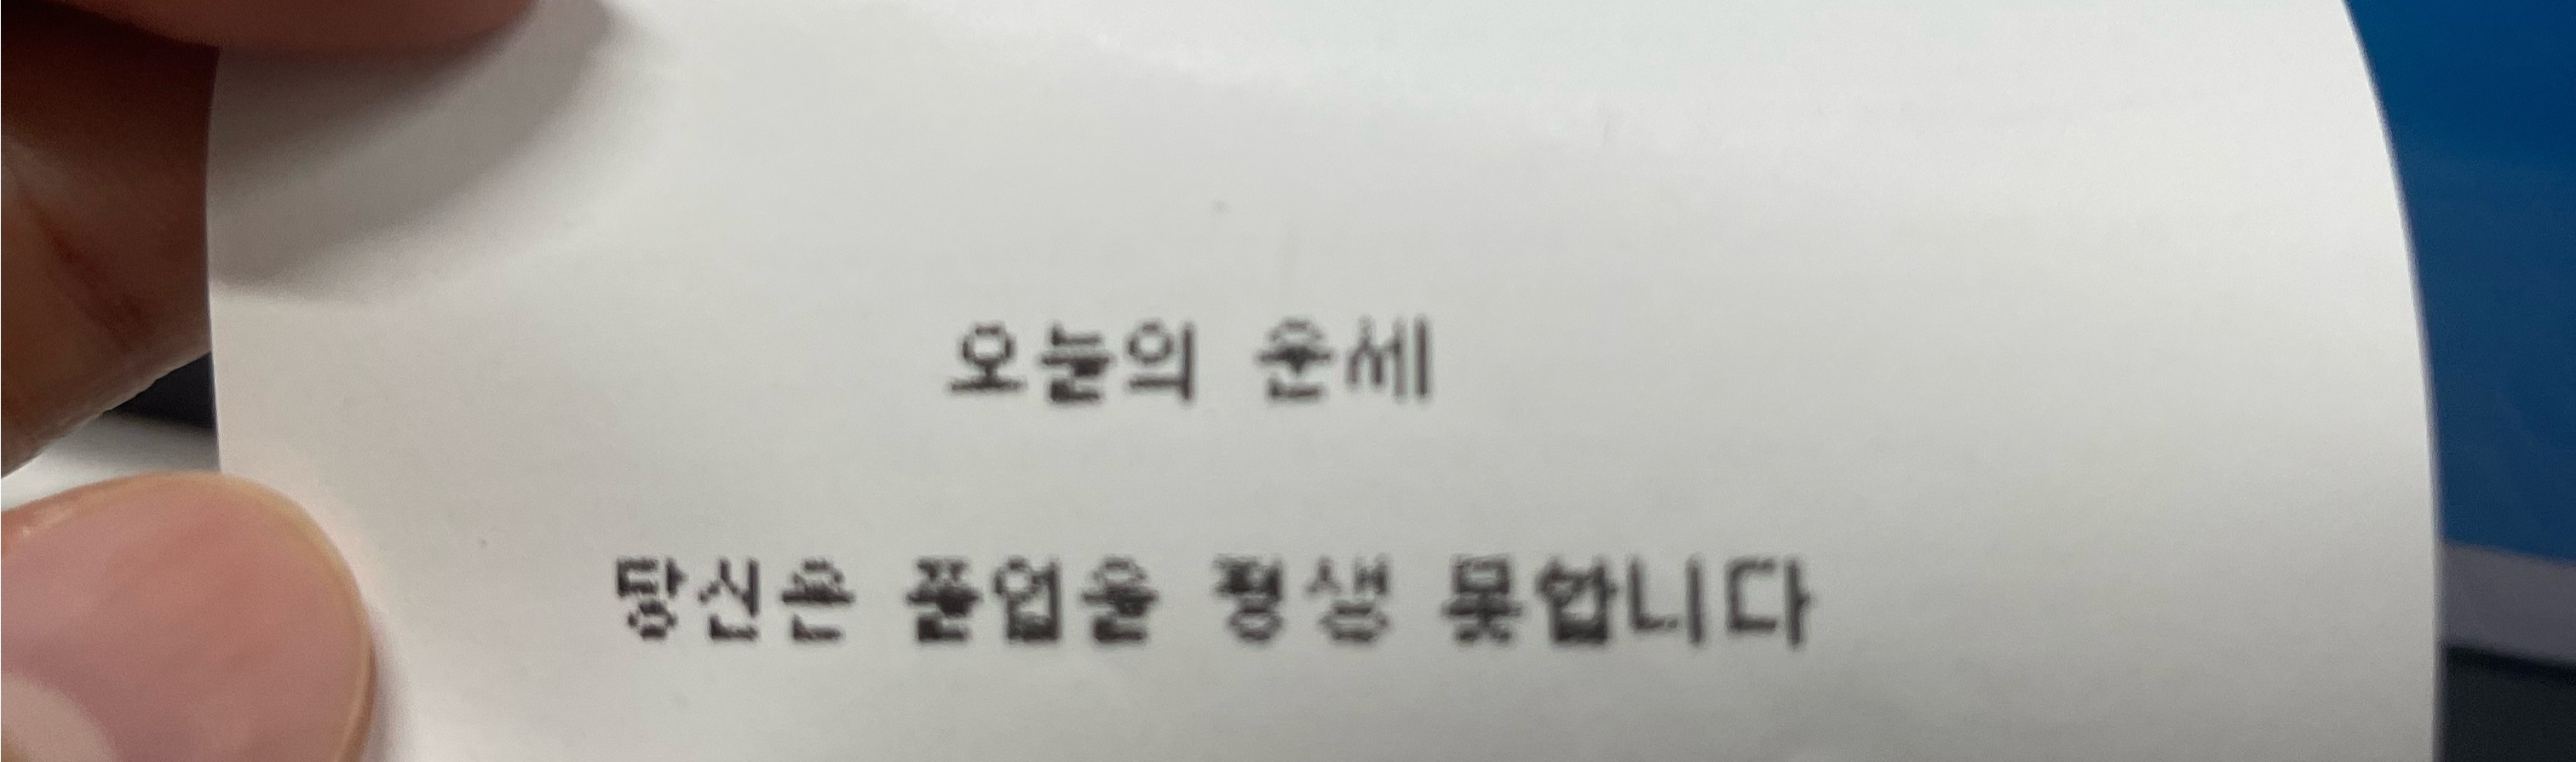
img.save("print_" + file)image_frame 함수는 이미지 아래에 오늘의 운세를 만들어 다시 이미지로 저장해주는 역할을 합니다.
from PySide6.QtPrintSupport import QPrinter, QPrinterInfo
from PySide6.QtGui import QImage, QImageReader, QPainter, QPageLayout, QPageSize
from PySide6.QtCore import Qt

def print_file(file_path):
    printer = QPrinterInfo.defaultPrinter()
    for p in QPrinterInfo.availablePrinters():
        if p.printerName().startswith("BIXOLON"):
            printer = p
    if printer.isNull():
        print("연결된 프린터가 없습니다.")
        return False
    else:
        print("연결된 프린터 : " + printer.printerName())

    printer = QPrinter(printer, mode=QPrinter.HighResolution)
    printer.setCopyCount(1)
    printer.setPageSize(QPageSize.A7)
    printer.setPageOrientation(QPageLayout.Orientation.Portrait)
    printer.setResolution(180)

    QImageReader.setAllocationLimit(0)

    img = QImage(file_path)
    scaled_img = img.scaled(
        printer.pageRect(QPrinter.DevicePixel).width(),
        printer.pageRect(QPrinter.DevicePixel).height(),
        aspectMode=Qt.KeepAspectRatio,
        mode=Qt.SmoothTransformation,
    )
    painter = QPainter()
    painter.begin(printer)
    painter.drawImage(0, 0, scaled_img)
    painter.end()
print_file은 연결된 프린터 중에 BIXOLON 프린터를 찾아서 프린트합니다.
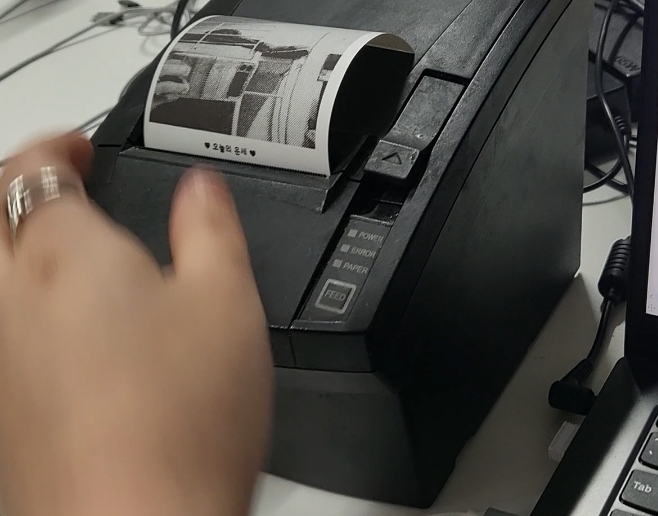

이렇게 영수증 용지에 프린트가 되어서 나옵니다. 와!
영감을 준 내 칭구 나비에게 감사드립니다.
반응형
'Python' 카테고리의 다른 글
| [Python] 항상 화면 위에 떠있는 ChatGPT Widget 만들기 (2) | 2024.02.21 |
|---|
댓글