 tokki
tokki반응형
AWS API Gateway와 Lambda, Polly, S3를 활용하여 TTS API를 구현한 후, Next.js에서 사용하는 간단한 서비스를 만들어 보았습니다.

구조는 위와 같습니다.
우선 Lambda 함수를 구성해줍니다. index.mjs 파일은 다음과 같이 작성되어 있습니다.
import { PollyClient, StartSpeechSynthesisTaskCommand } from "@aws-sdk/client-polly"

var polly = new PollyClient({ region: "ap-northeast-2" });

export const handler = async (event, context, callback) => {
  let message = "지정된 문자가 없습니다.";
    console.log(event.body);

  if (event['body-json'] && event['body-json'].text) {
    message = event['body-json'].text; // Lambda 함수에서 요청의 body의 text를 읽어옵니다.
  }

  const pollyParams = {
    Engine: "neural",
    LanguageCode: "ko-KR",
    LexiconNames: [],
    OutputFormat:  "mp3", // 음성이 저장될 포맷
    OutputS3BucketName: "버킷명", // 변환된 음성 파일이 저장될 S3 버킷명
    OutputS3KeyPrefix: "polly", // 음성 파일명의 prefix
    SpeechMarkTypes: [],
    Text: message,
    TextType: "text",
    VoiceId: "Seoyeon", // 한국어가 지원되는 모델은 서연밖에 없습니다...
  };

  const command = new StartSpeechSynthesisTaskCommand(pollyParams);
  try {
    const response = await polly.send(command);
    return {
        statusCode: 200,
        headers: {
          "Contents-Type": "application/json"
        },
        body: JSON.stringify({response})
    };
  } catch (e) {
      callback("polly failed: ", e);
  }
};
이 람다 함수는 요청받은 text값을 Polly를 이용해 음성으로 변환한 후, 버킷 안에 넣고 해당 리소스의 주소를 리턴합니다.
이후 API Gateway를 생성하여 방금 만든 람다 함수와 연결합니다.
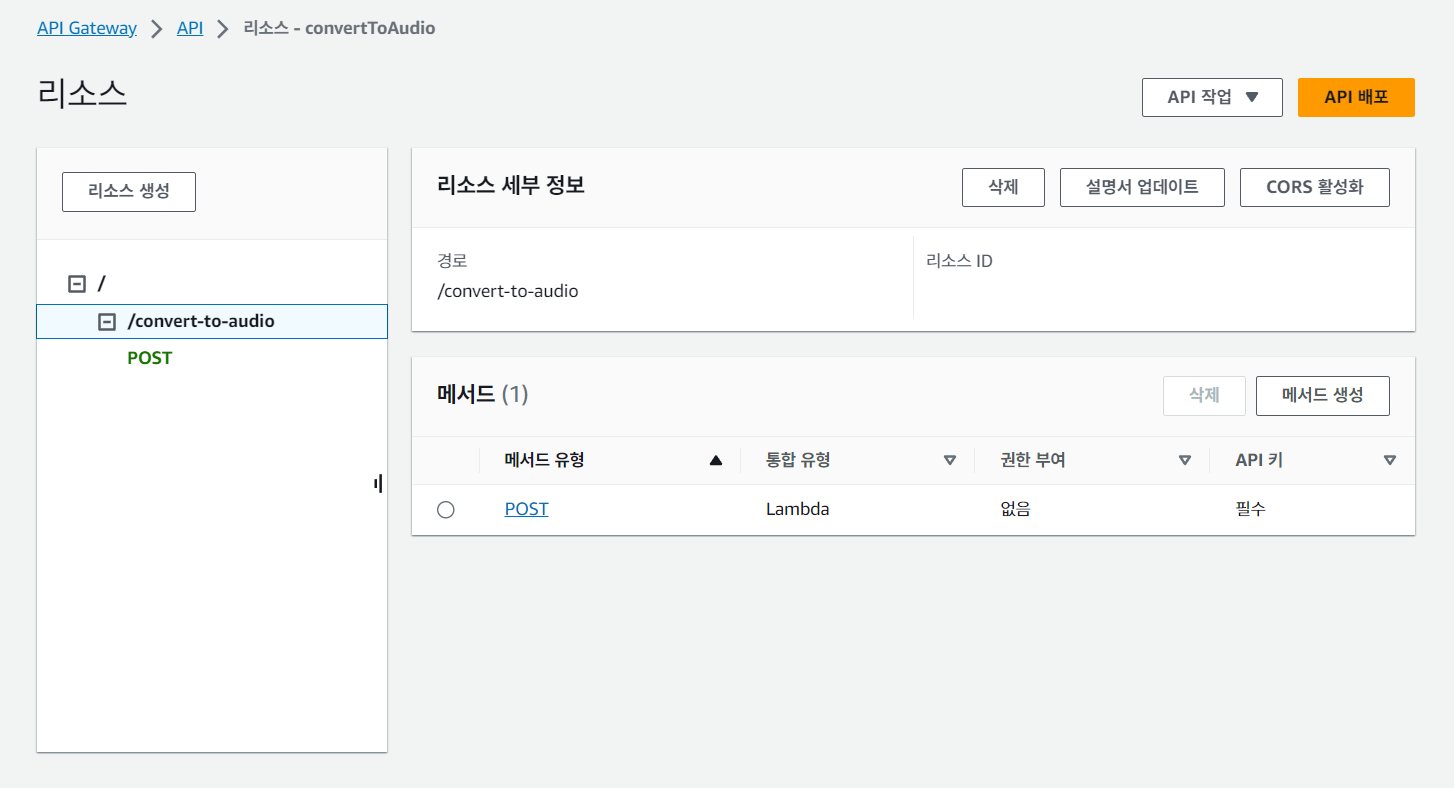
메소드는 POST로 합니다. API 키 같은 경우에는 필요한 대로 설정하면 됩니다. 설정한 경우, 요청의 header 안에 "x-api-key"로 담아 보내주면 됩니다.
이제 Next.js의 api route(/app/api/voice/route.ts)에서는 post 요청을 받으면 다음과 같이 처리하여 리턴합니다.
import { NextRequest, NextResponse } from "next/server";

const createVoices = async (text: string) => {
  const result = await fetch(`${process.env.POLLY_API_URL}`, {
    method: "POST",
    headers: {
      "x-api-key": `${process.env.API_POLLY_KEY}`,
      "Content-Type": "application/json",
    },
    body: JSON.stringify({
      text,
    }),
  });
  return JSON.parse((await result.json()).body) as PollyResponseType;
};

export async function POST(req: NextRequest) {
  const { text } = await req.json();
  const voice = await createVoices(text);
  return NextResponse.json({ voice });
}
참고로, 파싱된 Polly의 response type은 아래와 같습니다. 여기서 생성된 음성 파일의 리소스 주소는 OutputUri입니다.
export interface PollyResponseType {
  response: {
    SynthesisTask: {
      CreationTime: string;
      Engine: "neural";
      LanguageCode: "ko-KR";
      OutputFormat: "mp3";
      OutputUri: string;
      RequestCharacters: number;
      SpeechMarkTypes: any[];
      TaskId: string;
      TaskStatus: "scheduled";
      TextType: "text";
      VoiceId: "Seoyeon";
    };
  };
}
Polly가 음성을 바로 생성해서 해당 리소스 주소에 넣어주지 않기 때문에 (시간이 걸립니다) 텍스트가 길 경우 바로 재생할 수는 없을 수도 있습니다.
반응형
'Web > Frontend' 카테고리의 다른 글
| [Next.js] API route와 firebase로 인증과 글 쓰기 구현하기 (0) | 2024.01.21 |
|---|---|
| [Web] 초보 웹 프론트엔드 개발자가 백엔드와 통신할 때 오류가 난다면? (3) | 2023.11.22 |
| [Next.js] Naver Map API 이용해서 현재 위치 지도 띄우기 (1) | 2023.11.15 |
| [리액트] 지뢰찾기 만들기 (2) | 2022.07.31 |
| [Figma] 좌충우돌 Figma i18n 플러그인 제작기 (3) | 2021.05.04 |
댓글